
I haven’t been invited and would like to sign up or make a purchase
To ensure your account is linked to the right organisation, you’ll need to sign up via their booking site link, you won’t be able to do so via the app or default login page.
From the booking site, simply select your purchases, head to the basket, click ‘Continue to checkout’, then ‘Create account’.
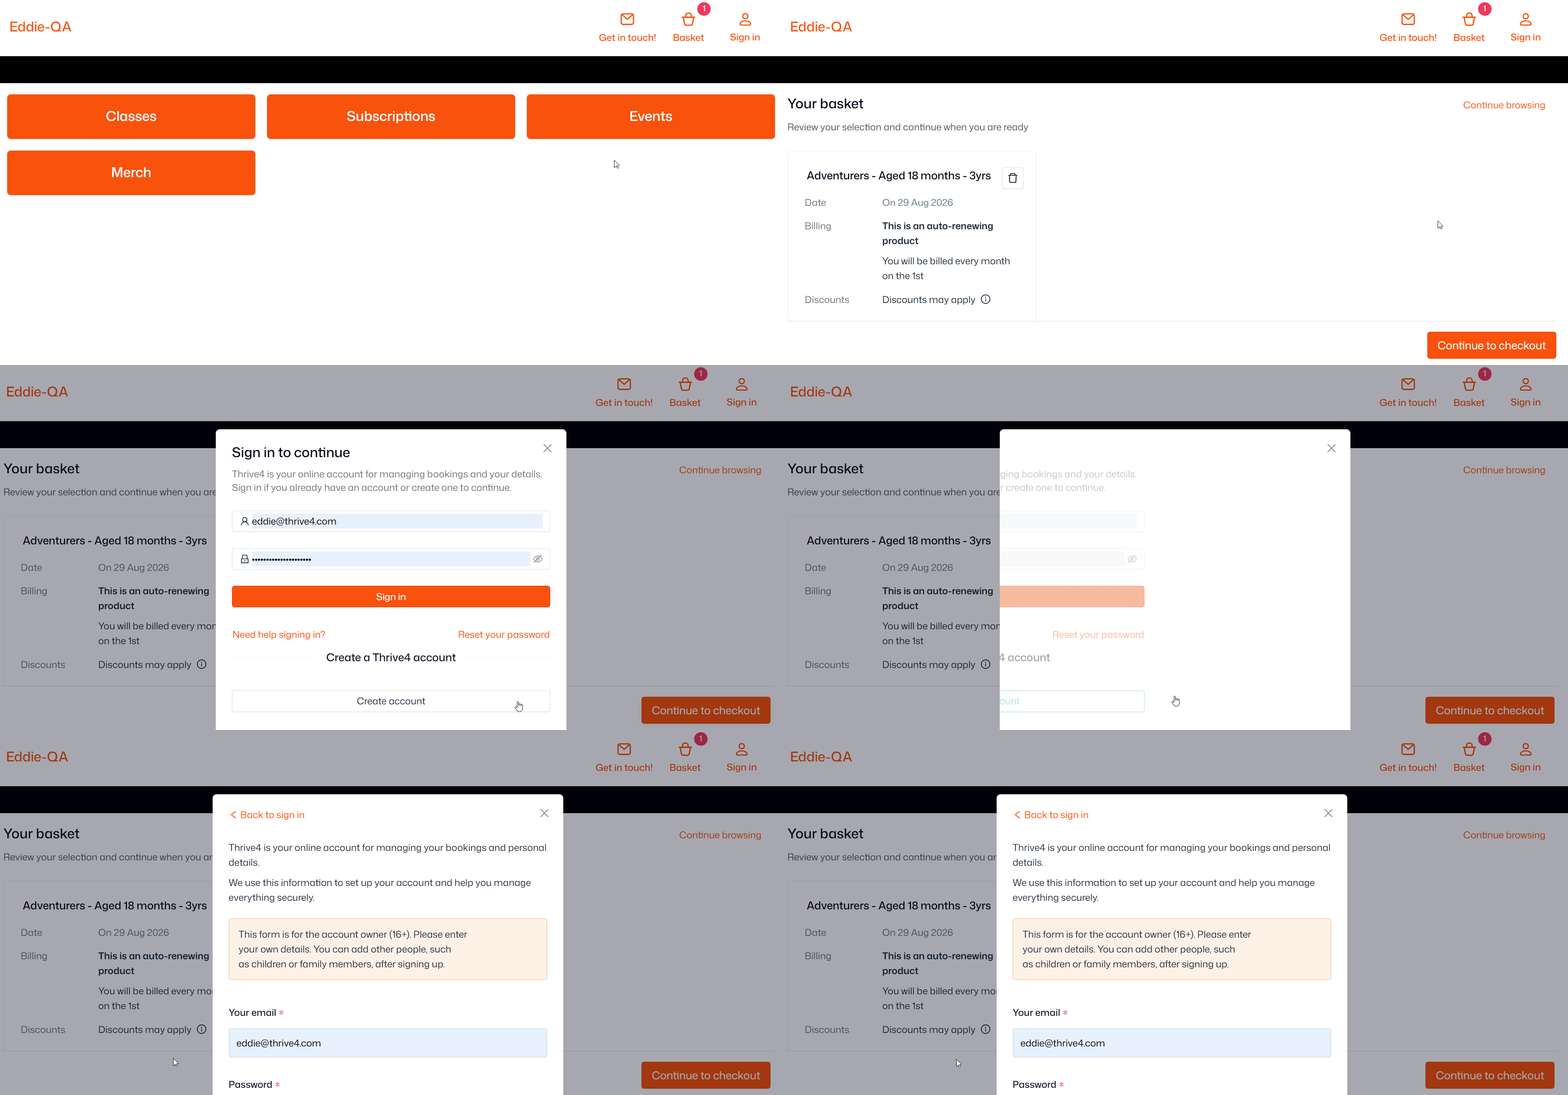
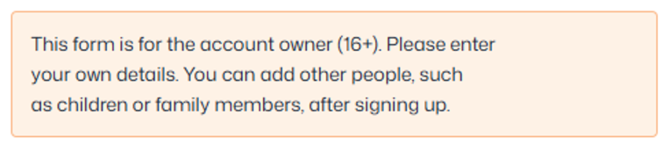
Important: At this stage, please ensure you enter your details, not that of your child or anyone else the booking may be for.
You’ll then receive a verification email. Please click the link to verify your account, then return to the checkout page to complete your purchase. If you cannot see the email, please check your spam/junk folder.
If your verification email hasn’t arrived and isn’t in your spam or junk after a few minutes, you can contact our support team at help@thrive4.com
At checkout, you can add the details of your child, or anyone else you might be signing up or making a purchase on behalf of.
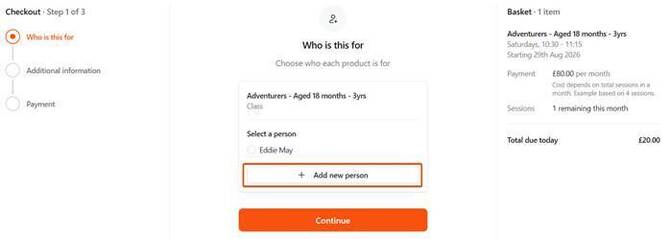
You can then complete the checkout – for detailed steps on each part of the process, check out our full guide here.
I’ve been invited to an organisation via Thrive4
If you’ve been invited to an organisation directly, you’ll receive an email with a link to Create your account, like the one below:
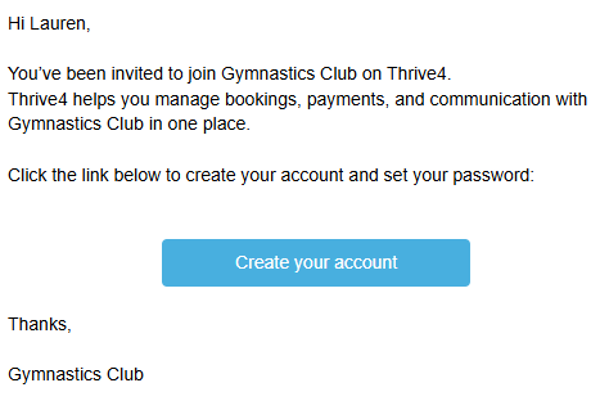
Simply click the button to confirm your details, verify your account, and create a password. If your organisation hasn’t already added you into your class or membership (you will have received an email confirmation if that’s the case), you can go ahead and sign up via their shop.
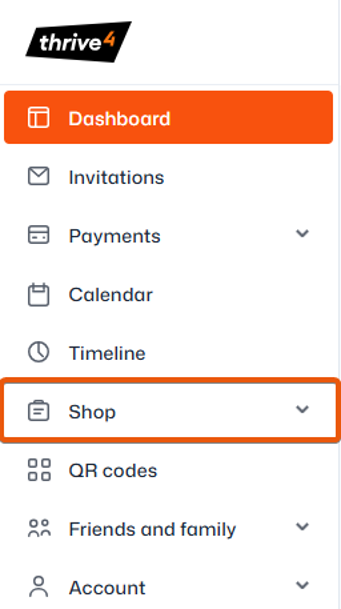
For detailed steps on each part of the process, check out our full guide here.