Note: If you need to set up a recurring activity, such as a session that takes place every week, click here for more information.
Creating your event product:
- Navigate to Product management > Products
- Click the 'Add product' button at the top-right of your screen
- Choose ‘Product’ and ‘Event’
- Give the product a name, such as ‘Holiday Camp’
- Add the product to an existing event product group, if you have one (leave blank if you do not)
- Set a price per:
- Schedule – a cost for a whole schedule of dates, e.g. £150 for a week-long camp
- Session – a cost per individual date e.g. £40 for each camp day
- Click 'Add new product'
Event product settings
Once your event product has been created, you can determine the rest of its settings, such as age restrictions and forms. Each setting is outlined below:
Details
- Choose an image to represent the product in your shop
- Set the product name
- Set the product status
- Add a short subtitle to show in the shop
- Optionally choose what colour the event should display as in the Timetable page and the shop timetable
- Set a maximum and minimum purchase quantity limit per account
Pricing
- Set a price per:
- Schedule – a cost for a whole schedule of dates, e.g. £150 for a week-long camp
- Session – a cost per individual date e.g. £40 for each camp day
- Select a purchase option
- Assign the price to a specific schedule – more information here.
- Add a price description
- Set a specific tax rate for the product
Discounts
- Make the product eligible for a discount you have set up
For more information on setting up discounts, click here.
Billing and renewal
- Single payment/Weekly/Monthly/Annually
- Choose whether admin approval is required to purchase the product
- If 'Yes', orders will come through to you for approval before the customer is charged
- If, ‘No’, the purchase be invoiced automatically
- Choose whether payment should be taken automatically
- If 'Yes', payment will start as soon as the person completes checkout, or the order is approved
- If 'No', the payment will not start until an admin collects payment or the member clicks ‘Pay now’ in the Thrive4 app/online portal
- Choose to enable pro-rata or not
- When pro-rata is enabled, anyone signing up for the event part-way through the billing period will only be charged for the remaining time
- If not enabled, the event will be full price regardless of when signed up for
Important: If pricing per session, you do not need to use pro-rata.
- Choose whether you wish to offer payment in instalments
- Select the payment provider(s) to be used for payment
- Select whether the event should auto-renew or not
- ‘Suspend billing until’ – this will make the product unpurchasable until the given date
Forms
Here you can assign customer forms, which will need to be completed upon purchase. For more information on forms click here.
Consents
Assign consents to the product – for more information click here.
Emergency contacts
Set how many emergency contacts users must provide when purchasing.
Required files
Choose which files must be provided when purchasing – for more information click here.
Product fields
For more information about setting up product data forms and adding product fields, click here.
Product relationships
Choose any additional products that must be added at checkout if not already purchased – for more information click here.
Age restrictions
For more information click here.
Capacity
Set the minimum and maximum number of people who can join this product.
Waiting list
Choose if you would like a waiting list option for this event, and how people are offered a place when one becomes available – for more information click here.
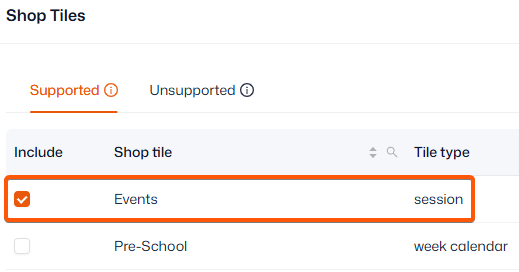
Shop
Choose where in the shop the event should show by assigning it to a shop tile – for more information click here.
Development programme
Assign the event a development programme – for more information click here.
Scheduling
Once your product settings have been defined, you will need to set up a schedule before customers can book onto your event. In most cases, you will want to use a 'custom' schedule type for a one-off event. Find more information on schedules here.